Prepare a Raspberry-Pi-4 for Information/Media Central Store

Preparing a Raspberry Pi 4 for a DIY low cost home network attached photos/media storage archive.
I have tried different commercially available NAS (Network Attached Storage) solutions in the past. They make it easy to have a backup of photos and documents locally. This time I managed to build such a device myself. Being a DIY, I know what software/hardware components are in it, and gives me full access for any level of customization.
It does a handful of different functions. Primarily this is a photo & document backup solution. As a secondary benefit it’s also a PiHole (a network wide DSN based ad-blocker), Wireguard server (a virtual private network/VPN) gateway, a DDNS(Dynamic Domain Name System) client, and Plex media server for my local media.
This post covers setup of Raspberry Pi 4. Next post will cover installing specific applications.
Hardware
I picked a Raspberry Pi 4 8GB as the computer. It is small yet powerful enough for this purpose. It comsumes low energy of <5W, for an always on computer this is important. It is fanless, noiseless, has great open source software support, runs Linux, and has fast enough IO ports. Along with that I used a compatible power supply, a powered USB3.0 hub to connect all the drives, an external 2.5” HDD, an external 2.5” SSD, and an Ethernet connection.
Overview of the process
Install Ubuntu
This is a standard process. You can follow instructions on official Raspberry Pi site to install Ubuntu Desktop 21.10 64-bit. For the OS installation I chose an external 2.5” HDD. It can be more reliable and faster compared to an SD card. Installation may need attaching a display and keyboard/mouse to the Raspberry Pi. While they are still attached remember to install/configure sshd for remote access.
Install Docker
Installing docker is again running a few commands to add the respository to apt and installing a few packages. Follow the official guide from Docker website. Nothing special here.
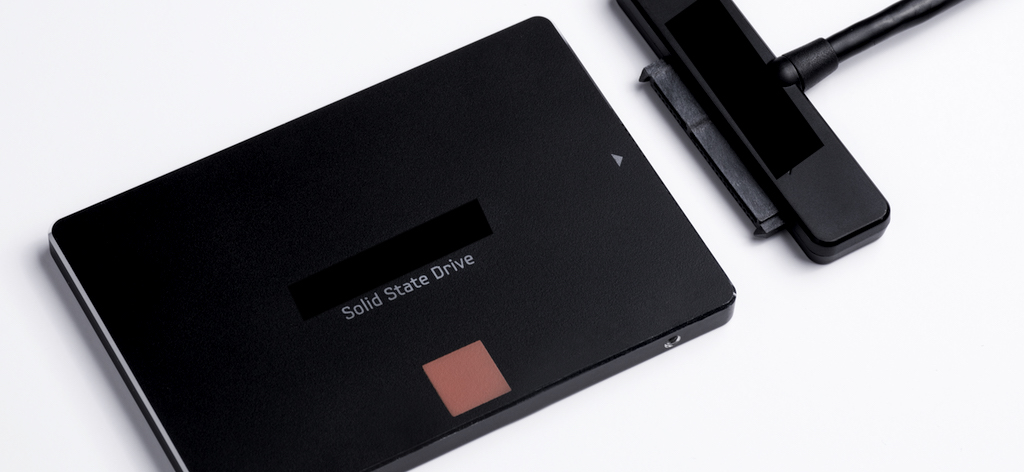
Setup External SSD
I planned to use an SSD for storing all the data I backup, and for hosting various software components dealing with my photos and data. An SSD gives higher performance, consumers less power, and is more resilient for mechanical vibrations. I setup the SSD with LUKS encryption. See my other post on how to setup a USB SSD with LUKS.
Applications
In the next post we will cover installing applications for all the required functionalities.
Explore more like this

Application setup for Home Information/Media Central Store
Application/services setup for a DIY low cost home network attached photos/media storage archive.
TRIM on USB SSD with Linux
I have an external USB SSD. I bought a StarTech.com USB 3.1 to 2.5" SATA Hard Drive Adapter with model number USB312SAT3CB to connect it to my computer. Problem was...